
- PirateDiffusion
- Guides
- How to use Faceswap and Facepush in Telegram – Face Swapping AI in Stable Diffusion
How to use Faceswap and Facepush in Telegram – Face Swapping AI in Stable Diffusion
·
Replace the face in any photo by swapping, or “push” a different face into a brand new render
You can create an unlimited number of AI images of your face for social media, or AI avatars for your friends with the AI FaceSwap and AI Facepush features of PirateDiffusion. They’re great for keeping a consistent face across many pictures without complicated prompting or building a model, anyone can do it. Here’s how:
Unlimited AI avatars with FaceSwap and FacePush on PirateDiffusion
Examples of AI face swap (your face + image)
| /faceswap mybro | |
 |
 |
| /faceswap niero |
Example of a Facepush (your face + prompt)
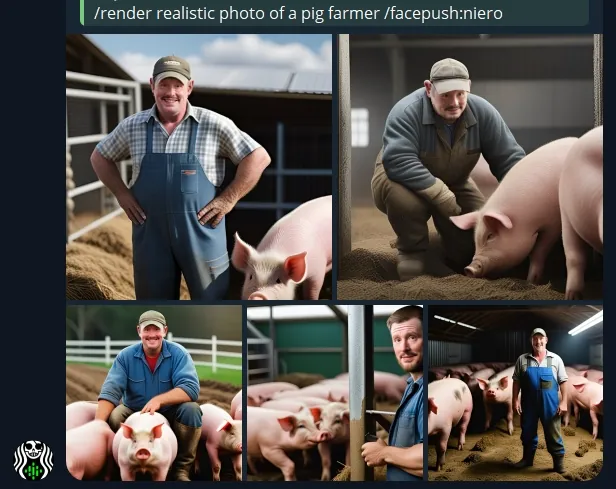
FaceSwap and Facepush: What’s the difference?
As you can guess by the name, you can use our Telegram Bot to swap the face of one photo into countless others. In our implementation, we store the face as a “preset”, you can assign it an easy to remember name, and then targeting other photos with it. There are two ways:
- FaceSwap requires a finished photo, and the face is “swapped” into it. This is it’s own command, similar to /remix. Reply to a photo with /faceswap.
- FacePush is a parameter of /render. This means that you can prompt any realistic situation and “push” the face into that situation. It works similar to a one-shot Lora. Before using Facepush, you must have a ControlNet preset of a saved face, or a debug ID from a completed photo with a face.
Prepping
For best results, /facelift the image first. That will create an “ai version” that will sharpen up small images. If you prefer not to have the face retouched, add the /photo parameter like this:
/facelift /photo /size:768x768
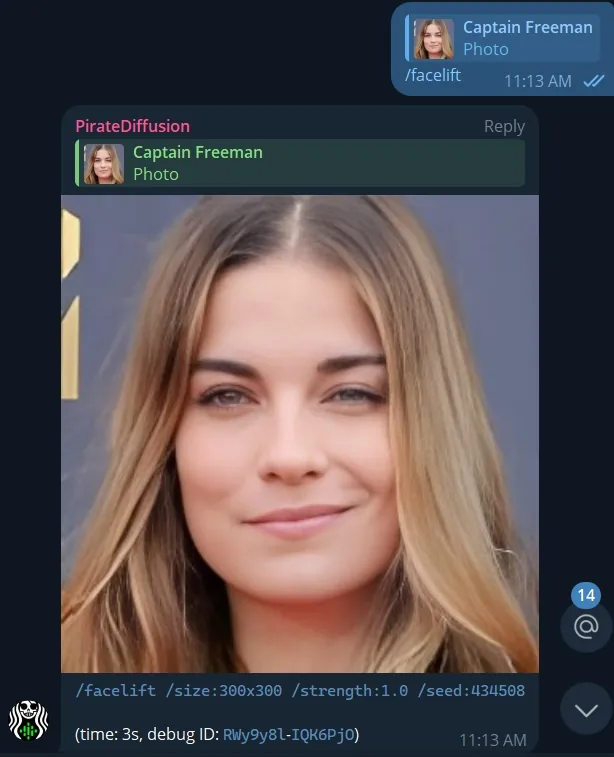
You’re ready to faceswap and facepush by calling the Debug ID, but the ID numbers are of course hard to remember. Let’s give it a name.
Give it an easy name to remember
You can use the long debug ID string above as the name, or save it as an easier name to remember, like this:
/control /new:browneyedgirl
Now we’re ready.
FACESWAP
Step 1: Create a photograph, or paste a second photo to target
Step 2: Reply to the target photo with faceswap
We saved “browneyedgirl” in ControlNet, so we can recall the face anytime from now on:
/faceswap browneyedgirl
To control the effect, use the /strength parameter from 0.0 to 1.0
/faceswap /strength:1 browneyedgirl
There are more examples below with troubleshooting tips.
How to facepush
Facepush is a parameter of the render command. This command is amazing for creating fictional situations where you don’t have a target photo, putting the character in just about any situation.
You can use the same ControlNet preset name as faceswaps, like this:
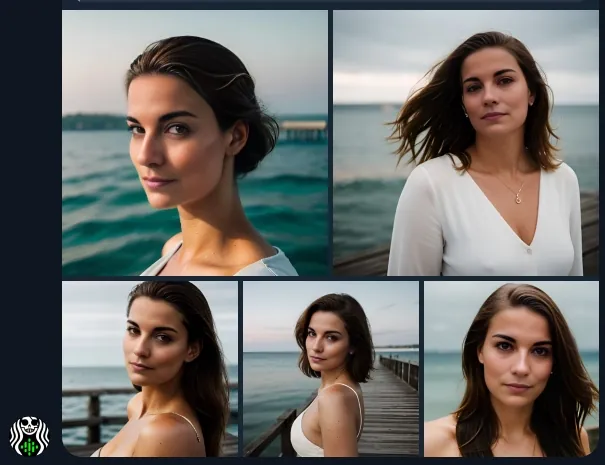
/render /facepush:browneyedgirl a closeup portrait of a woman standing on a pier <last-unicorn>
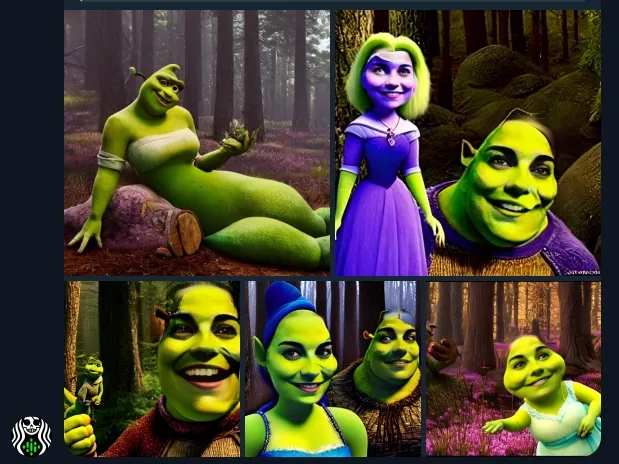
/render /facepush:browneyedgirl Shrek’s wife in the forest <realvis6>
Troubleshooting
Why is my target photo sharp, but my faceswap came out blurry?
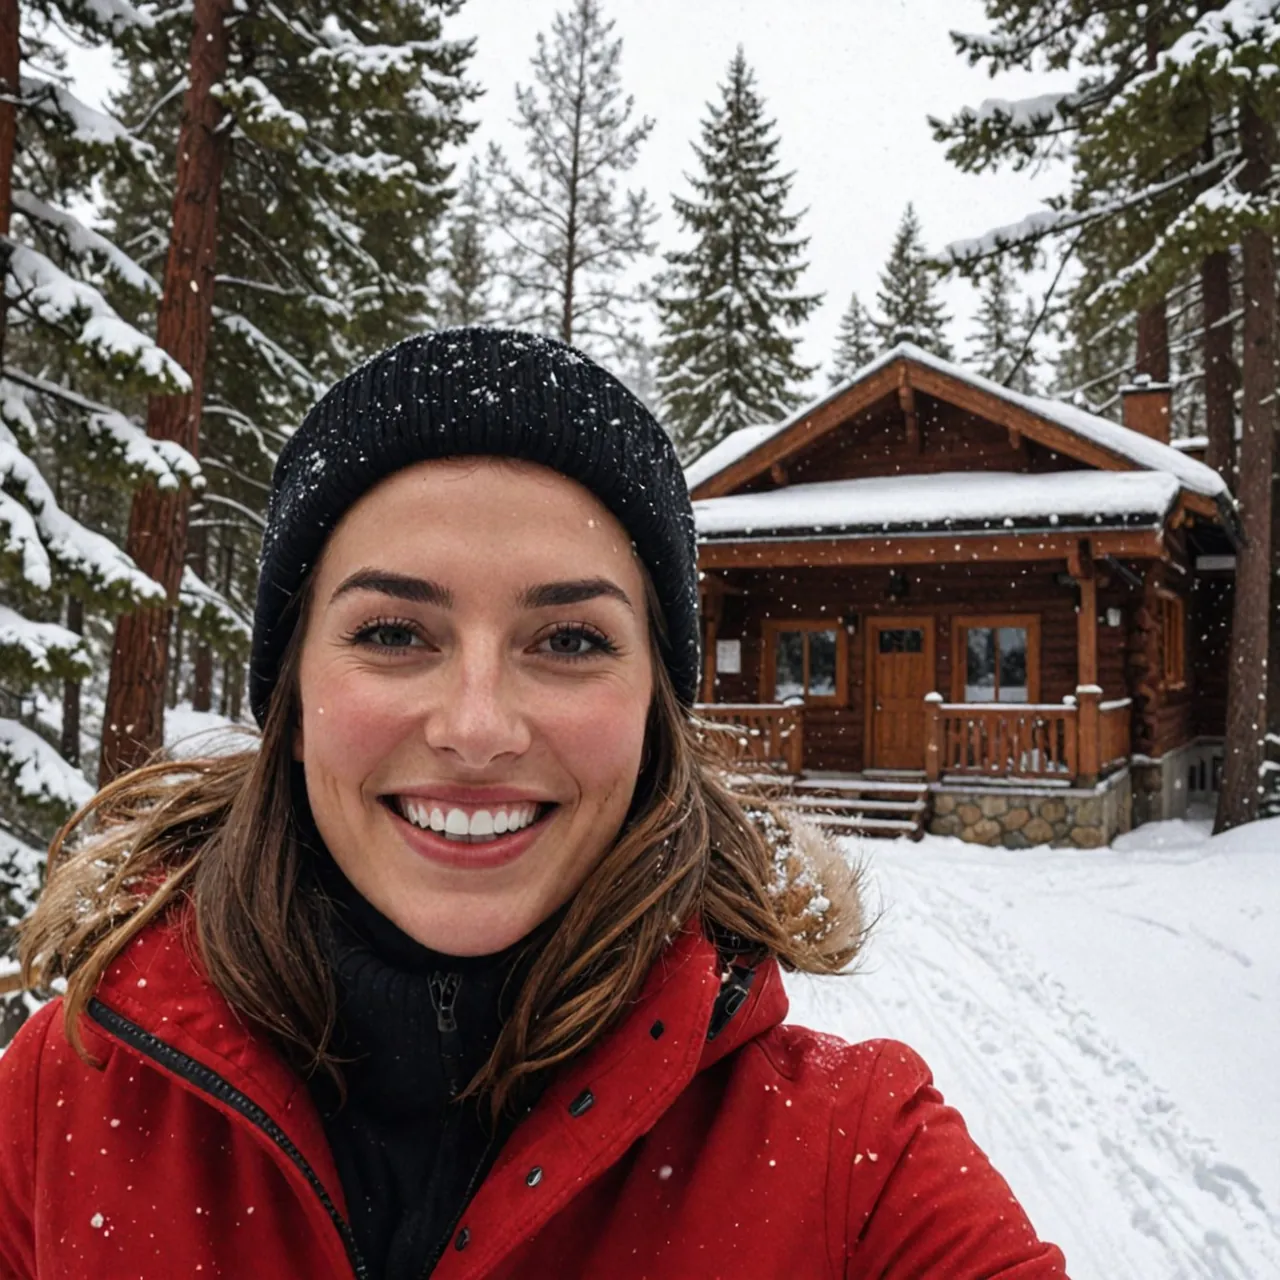
Hmmm… let’s take a critical look at your input photo. Can you we the pores on her face? Not really, no. So this will limit the quality of what Facepush and Faceswap can do. If you’re really shooting for realism, you’ll want to be able to see the skin pores very clearly.
But it’s good enough for a quick demonstration, let’s continue.
Consider this example:
Best Practices
- Use high quality photos with clear lighting
- Use photos with a minimum resolution of 768×768 to a max of 1400×1400.
- It’s better to use a bright, daytime input photo even when you are targeting night time or indoor renders. The AI doesn’t have trouble doing style transfer, but it will struggle if it can’t clearly read the input photos
- You can save an unlimited number of faces
- It works best when the angle and size of the face are similar
- When the input photo and target resolution are the same, the results are more crisp
- For higher quality results, create a lora instead
Limitations
- Facial hair matters. If you are going from no facial hair to a face that has facial hair, it may erase part of the beard. This can be added back in with Inpaint, but just an FYI.
- Facepush does not work with SDXL /remix or /more (yet)
- Facepush requires a realistic render prompt
- Add a model for better results. In the example above, we added <last-uniforn> to support realism
- The faces that you create in @piratediffusion_bot cannot be seen by anyone else
- You cannot use those faces in public groups. But you can make (separate) shared controlnet presets in group
- If the input photo isn’t well lit or low quality, you will get fuzzy edges
- It doesn’t work as well on anime or illustrations
- When the faces are already similar, the effect is more subtle. But it can be intensified or reduced using the strength parameter
- It will swap EVERY face in the picture
- Facepush
- does not work with SDXL /remix or /more (yet)
- requires a realistic render prompt
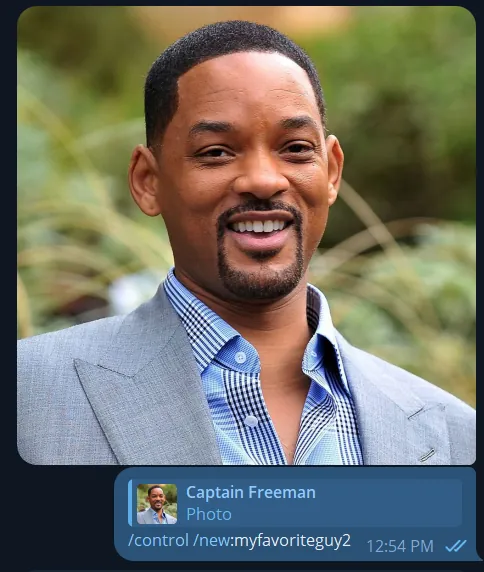
- Example /render /facepush:myfavoriteguy2 a realistic photo of ____” <realvis6>
Error Messages
- If you’re getting a “face not found” image, try doing a /facelift command on it. This will repair found faces and increase the size of the photo, two things that will help the next time you try /faceswap
- Try cropping the edges of the image so the face is more zoomed in, so it has less pixels to work with
- Try adjusting the brightness and sharpness of the image
- Try a combination of these things, with another /facelift after fixing the light and clarity
- Worst case, try a photo with a different angle
More Examples
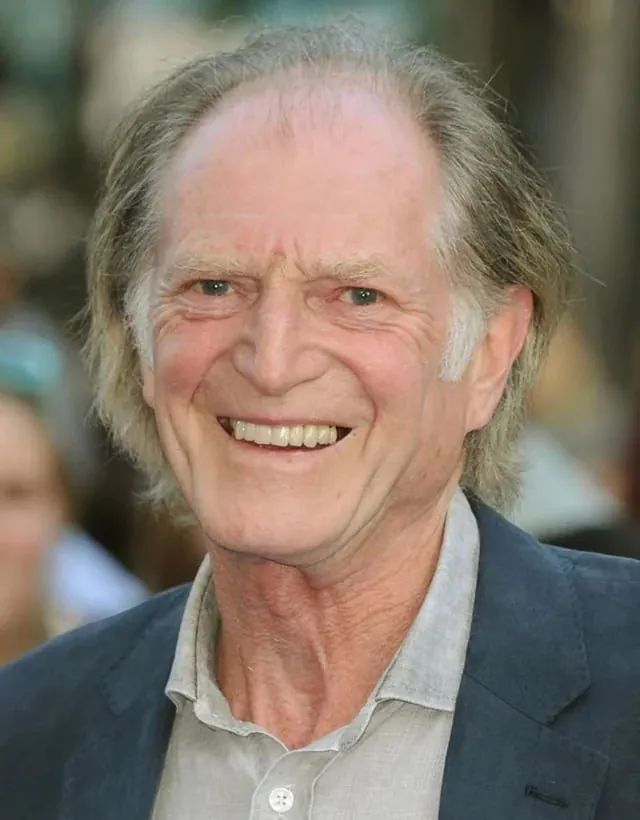
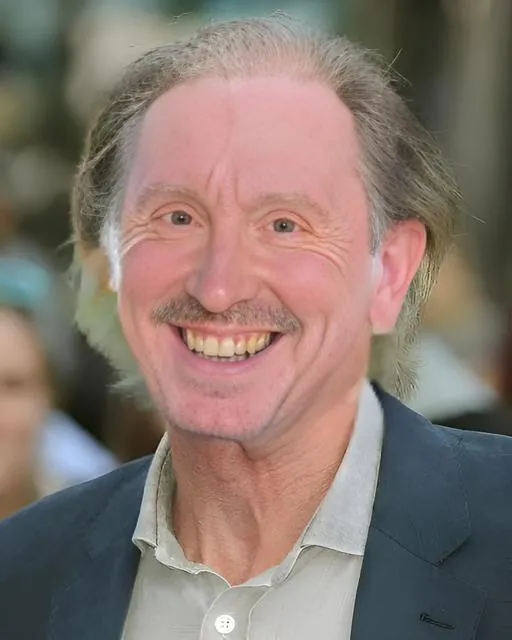
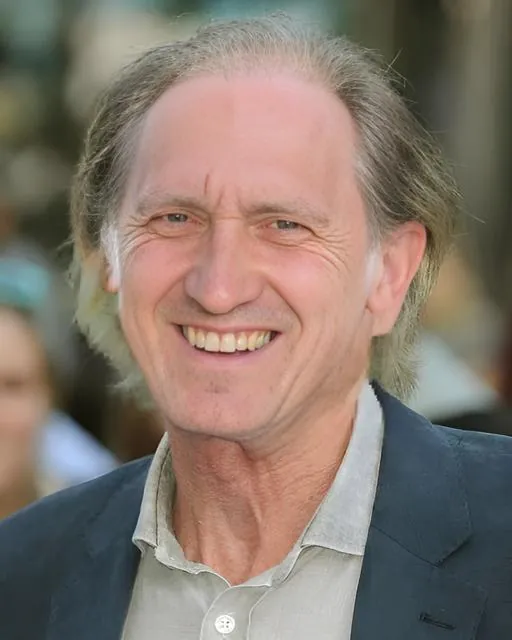


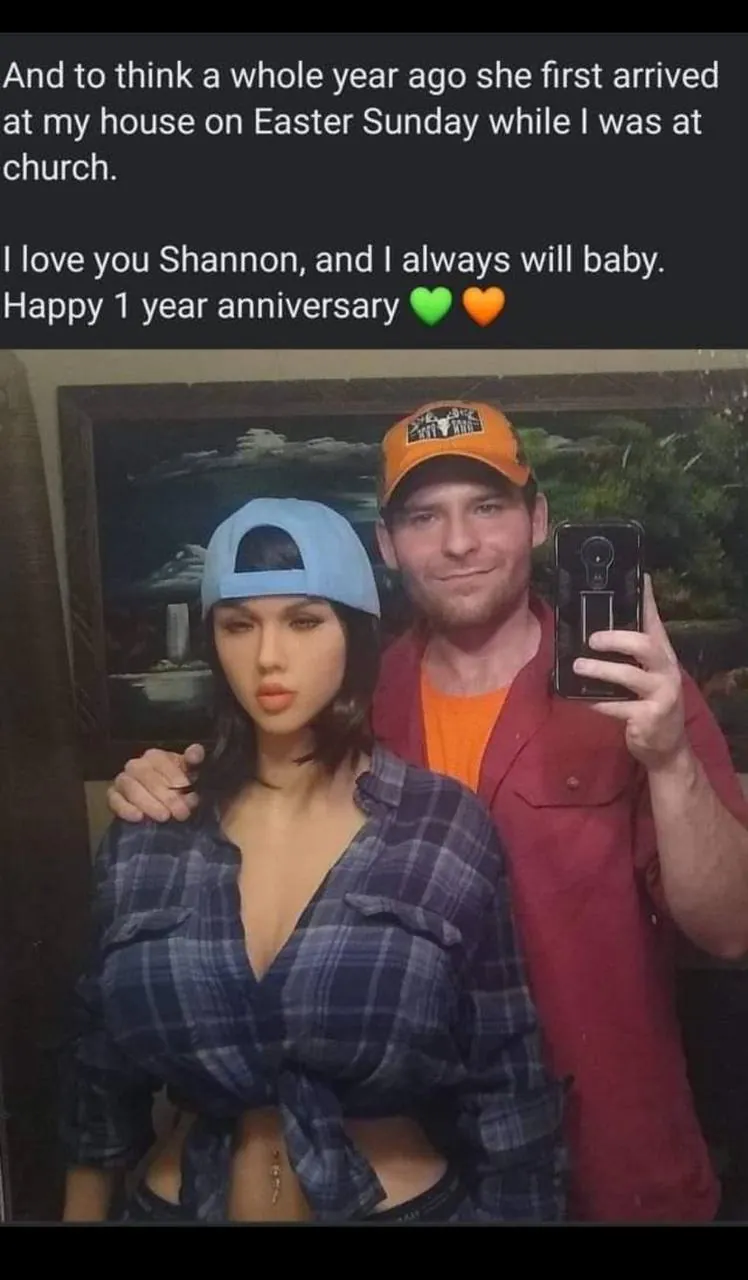
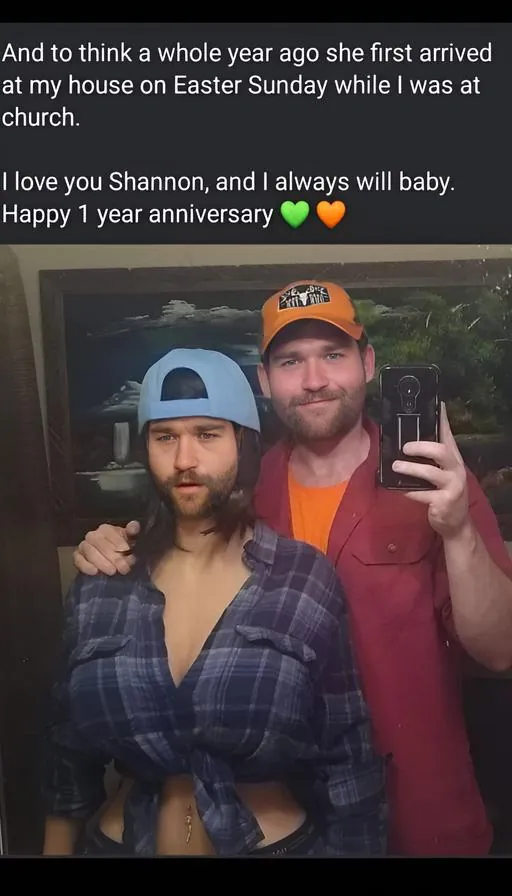

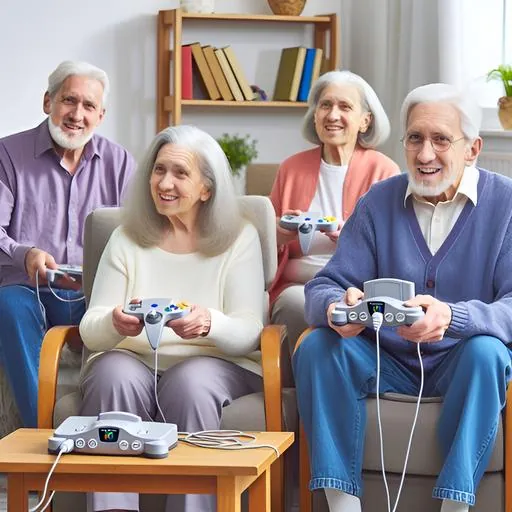
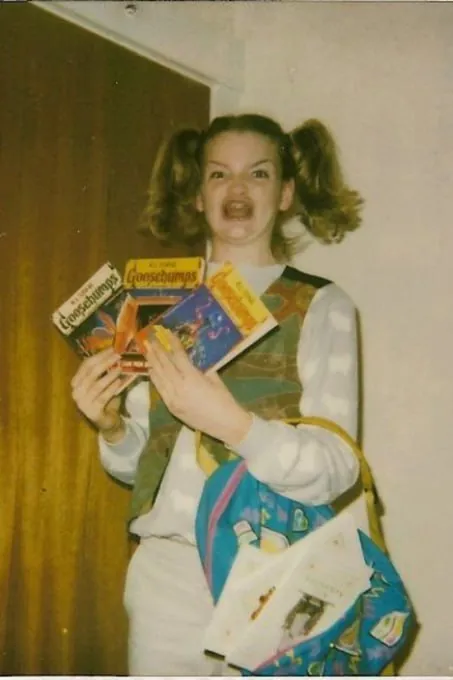
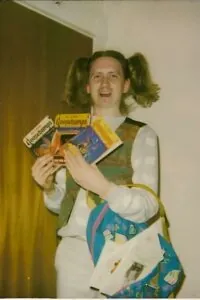
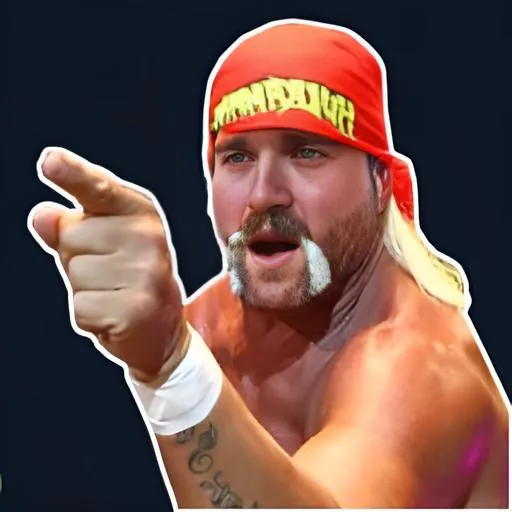
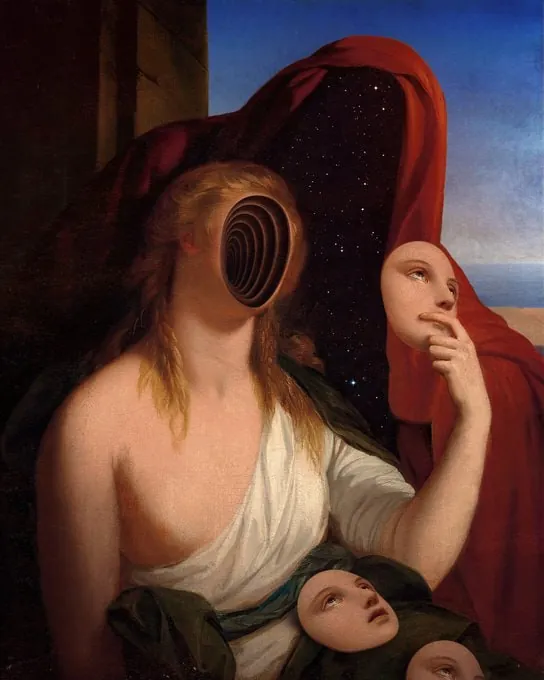
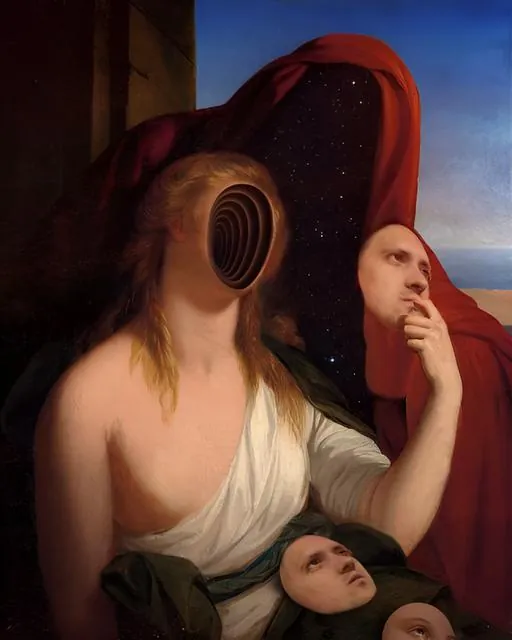
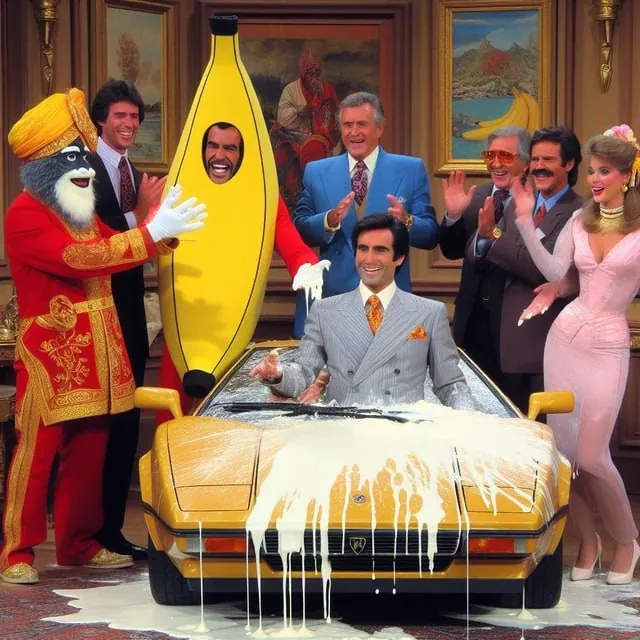




Here’s PirateDiffusion’s lead developer with a pearl earring:
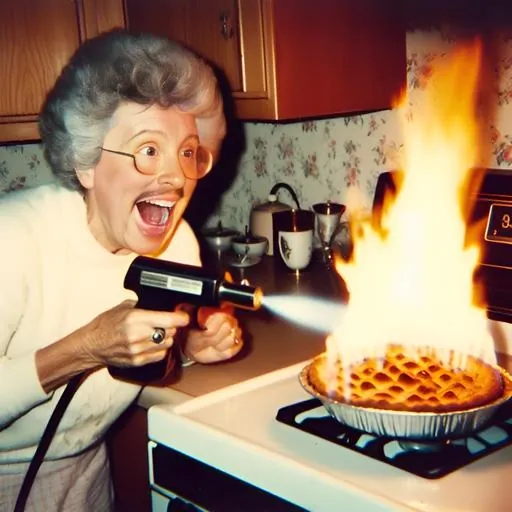
You can invite your friends into a Telegram group chat, program all of your faces, and roast each other:

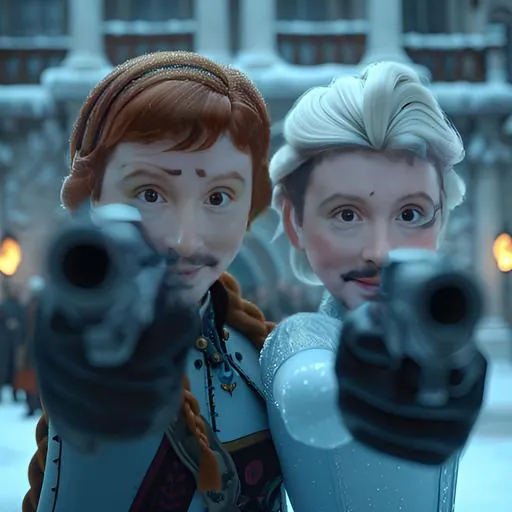
One limitation of /faceswap is that it will target ALL of the faces, but you can use /inpaint to correct this
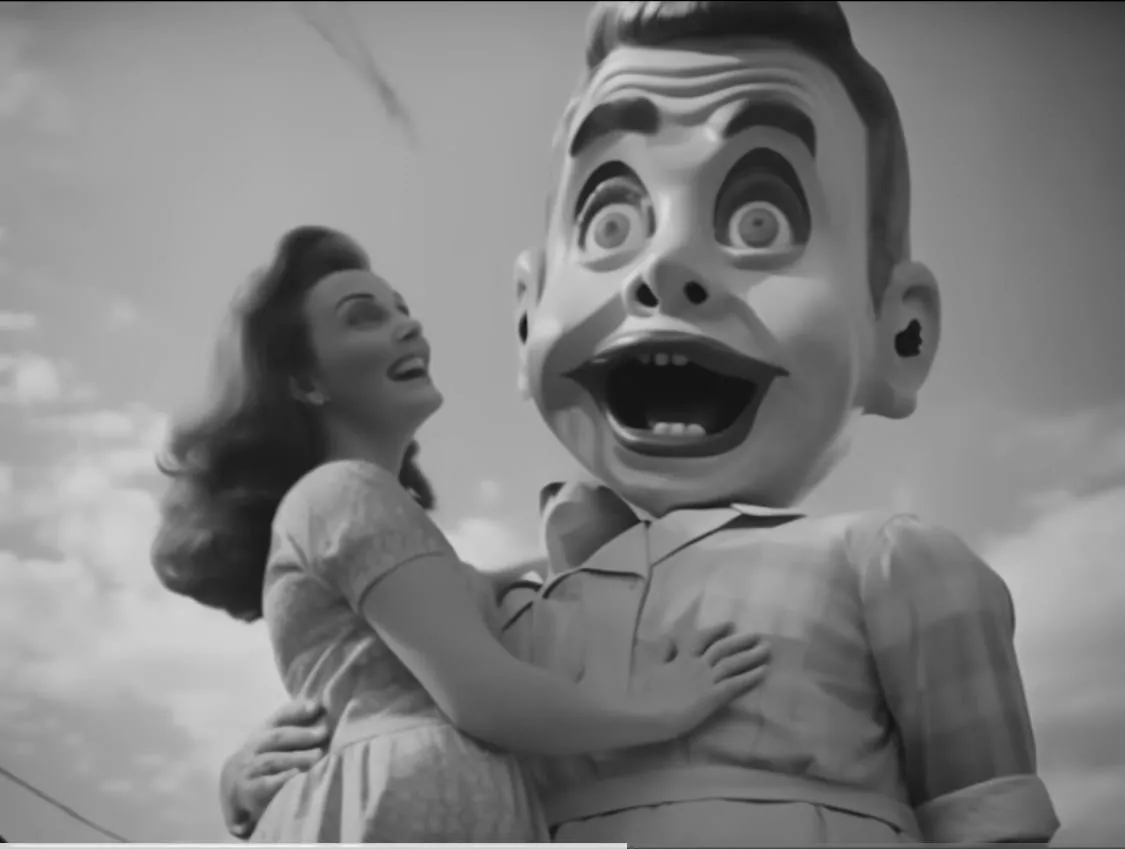
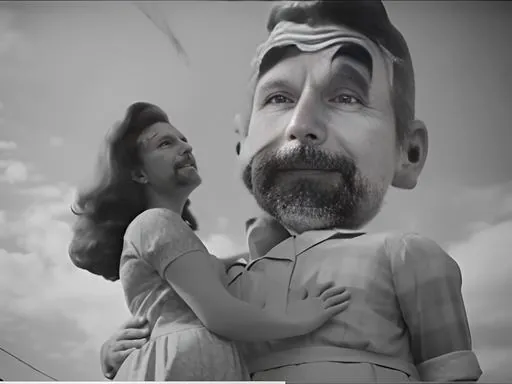
Will Smith Chungus Blooper:
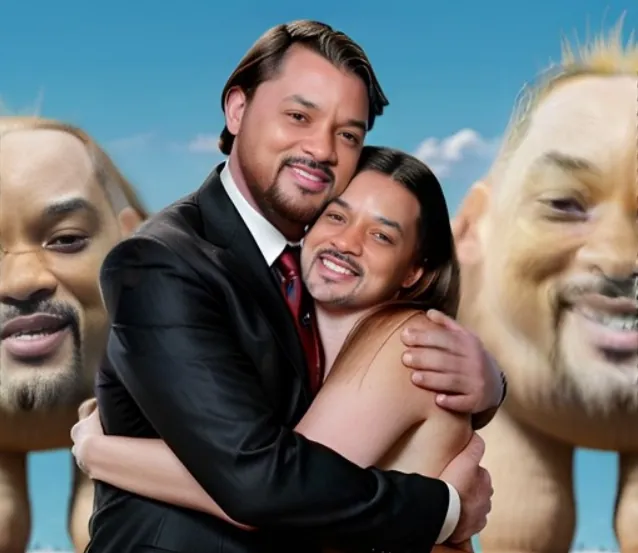
/render /facepush:myfavoriteguy2 a man is hugging a giant chungus <realvis6>
Back to Tutorials
How to use face swap via Telegram with Stable Diffusion
Prerequisite
This page is part of our ControlNet guide. It isn’t mandatory to know how to use ControlNet for this guide, but it will help if you give that a look first.
What is Face Swap?
As you can guess by the name, you can use our Telegram Bot to swap the face of one photo into countless others. In our implementation, we store the face as a “preset”, you can assign it an easy to remember name, and then targeting other photos with it.
Limitations:
- Your preset only works in the channel where it was used, for your privacy
- If the input photo isn’t well lit or low quality, you will get fuzzy edges
- It doesn’t work as well on anime
- When the faces are already similar, the effect is more subtle. But it can be intensified or reduced using the strength parameter
Prep Tips
- For your input photos, use high quality photos with clear lighting
- It’s better to use a bright, daytime input photo even when you are targeting night time or indoor renders. The AI doesn’t have trouble doing style transfer, but it will struggle if it can’t clearly read the input photos
- You can save an unlimited number of faces
- It works best when the angle and size of the face are similar
- Think of a naming convention to help you remember sizes and angles. For example, you can name your faces by angle and resolution like mary-forwards-1200×1200
- Multi-angle faceswaps are not possible, use a lora instead
- Input resolution matters. As they say, garbage in, garbage out. For best results, work with a photo that is at or just under 1200×1200. Above that resolution, use /facelift after it renders to get near 4k.The syntax for this is/faceswap thefaceyousaved /images:1 /size:1200×1200
Step by Step: How to Face swap
Step 1: Upload your photo to Telegram
Here we’ll use a brown eyed woman, thin pursed lips. Remember to upload the photo with compression as a file, or it will not work. If it fills your chat window, you did it correctly.
Next, save the photo as a preset by giving it a ControlNet style name. So we’ll “reply” to the photo with the command:
/control /new:browneyedgirl
Step 2: Provide a Target photo
Just as an example, we’ll render a ginger woman. The prompt for this image is much longer, you can find it at the bottom of the page.
/render a ginger woman
Step 3: Perform the swap
Reply to the target image with the faceswap command + your preset
/faceswap browneyedgirl
To control the effect, use the /strength parameter from 0.0 to 1.0
/faceswap /strength:1 browneyedgirl
Do it Again
/showprompt also gives you a code to perform face swaps
Troubleshooting
- If you’re getting a “face not found” image, try doing a /facelift command on it. This will repair found faces and increase the size of the photo, two things that will help the next time you try /faceswap
- Try cropping the edges of the image so the face is more zoomed in, so it has less pixels to work with
- Try adjusting the brightness and sharpness of the image
- Try a combination of these things, with another /facelift after fixing the light and clarity
- Worst case, try a photo with a different angle
Roast yourself
And that’s it! Here’s PirateDiffusion’s developer with a pearl earring:
*The full prompt for the ginger woman in the example is:
/render /parser:new /guidance:5.5 /size:512x768 /seed:641602 (close-up editorial photo of 20 yo woman, ginger hair, slim American sweetheart), (freckles:0.8), (lips parted), realistic green eyes, POV, realistic[:, (film grain, 25mm, f/1.2, dof, bokeh, beautiful symmetrical face, perfect sparkling eyes, well defined pupils, high contrast eyes, ultra detailed skin, skin pores, vellus hair, fabric stitching, fabric texture, wood grain, stone texture, finely detailed features:1), [(lowres:1.3, blurry:1.3, worst quality:1.3), low quality, bad quality, normal quality, anime, cartoon, penis, fake, drawing, illustration, boring, 3d render, long neck, out of frame, extra fingers, mutated hands, ((monochrome)), ((poorly drawn hands)), 3DCG, cgstation, ((flat chested)), red eyes, multiple subjects, extra heads, close up, man asian, text ,watermarks, logo] <lyriel>